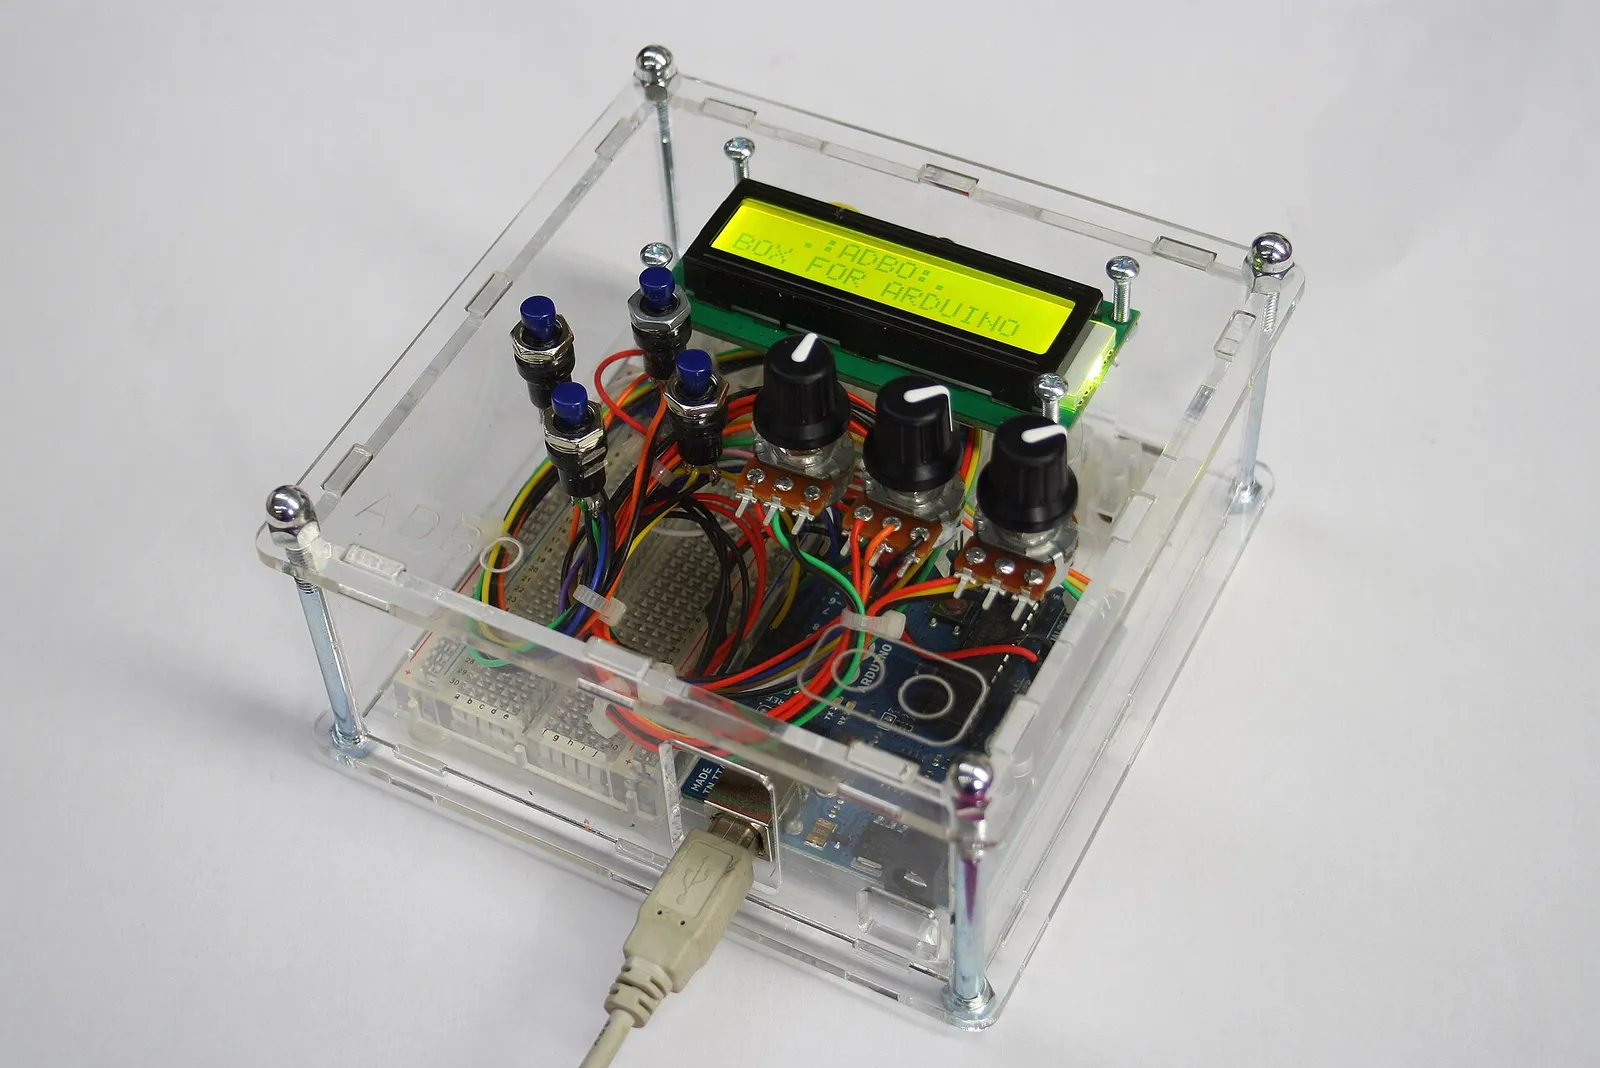
Why a CO2 laser?
Clear acrylic needs a laser wavelength it absorbs. CO2 lasers (about 10.6µm) cut it with a polished edge. Blue diode lasers don’t suit clear acrylic: Glowforge, for example, lists clear, white and blue acrylic as incompatible with its diode Craft machines — see our materials guide.
Designing the case
- Measure your board: width, depth, the positions of its mounting holes, and the tallest component.
- Draw two rectangles a few millimetres larger than the board on every side — a base and a lid.
- Copy the board’s mounting-hole positions onto both plates (3.2mm holes for M3 screws).
- Add cut-outs in the lid for any display, buttons or knobs, and in the base for cables if needed.
- Choose standoff lengths that clear the tallest component.
Cutting
- Leave the protective film on during cutting; it keeps the surface free of residue.
- Use a test cut to find a setting that cuts through in one pass with a clean edge.
- Stay with the machine — acrylic can flame briefly at slow speeds.
Assembly
Screw the standoffs to the base, mount the board, then fit the lid with screws into the top of the standoffs. Peel the film last.
Variations
- Engrave labels next to each knob before peeling the film.
- Add side walls with finger joints for a fully enclosed box.
- Use coloured translucent acrylic for the lid.