The idea
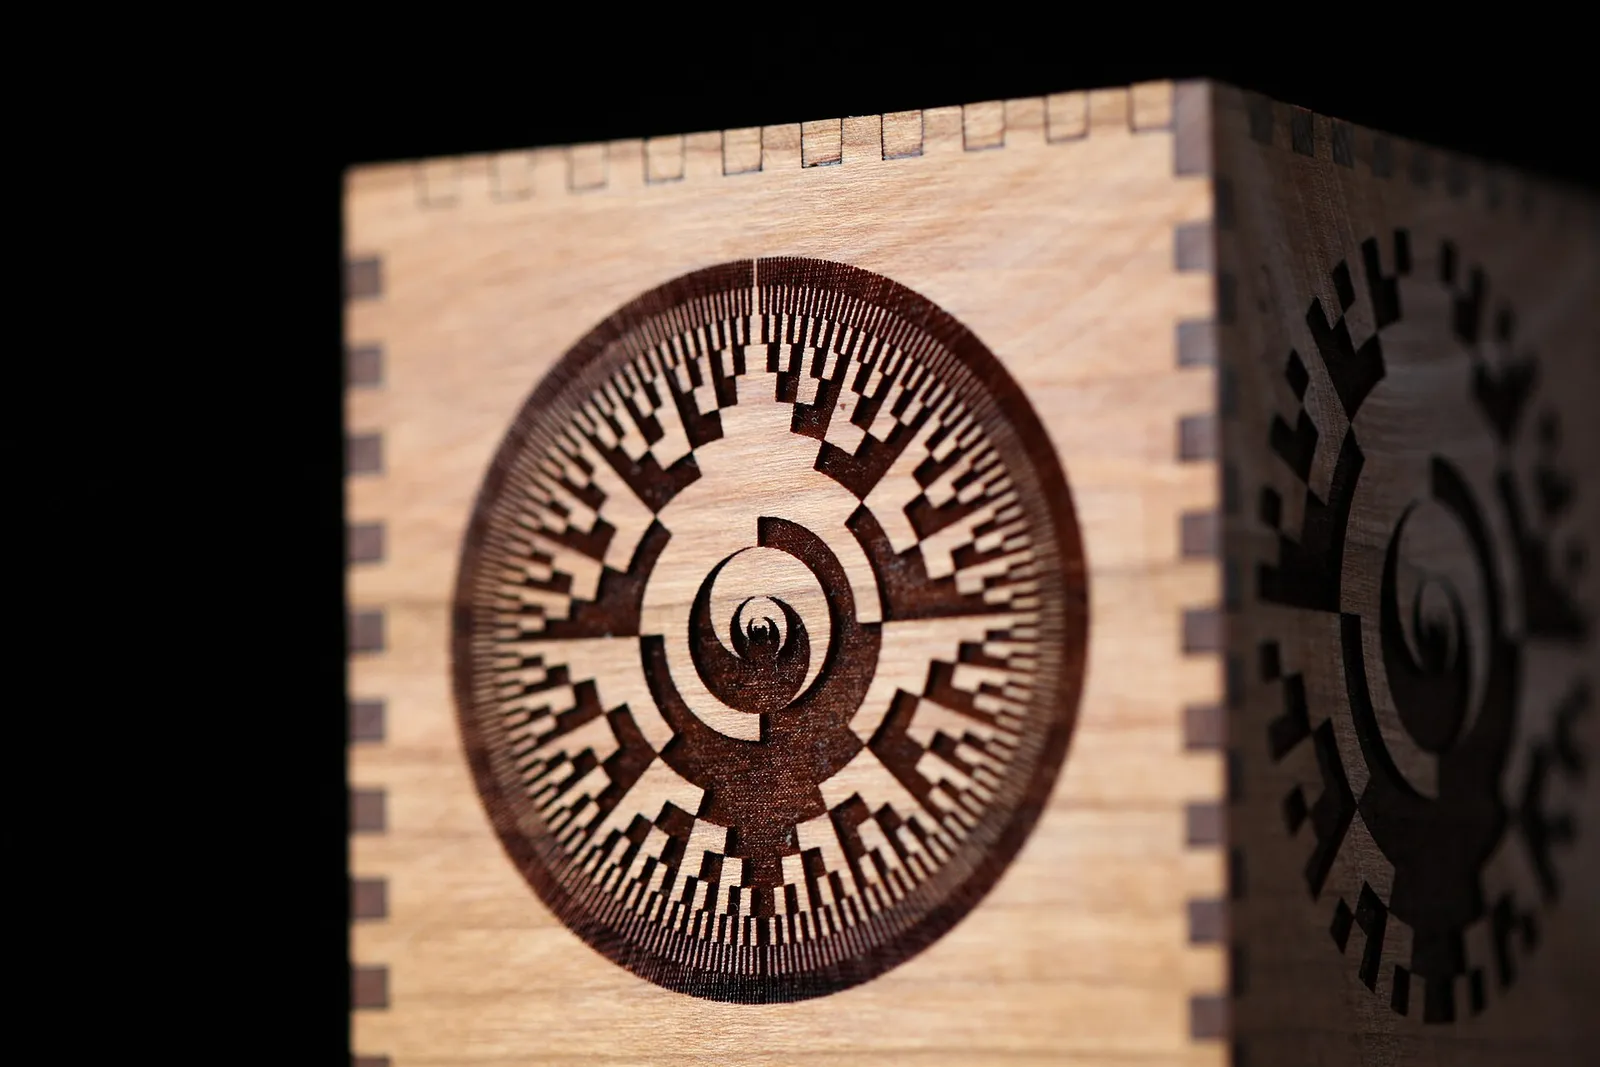
A small box (we suggest about 100 × 80 × 60 mm) made from six flat panels whose edges interlock like the fingers of two hands. It needs no screws, teaches you how kerf affects fit, and gives you a lid to personalise with an engraving.
Designing the panels
You don’t need to draw the joints by hand. Free online box generators, and the box tools built into several laser apps, will produce the six panels from your inside or outside dimensions and material thickness. Set:
- Material thickness: measure your actual sheet with callipers — “3mm” plywood is often a little more or less.
- Finger width: roughly two to three times the material thickness looks balanced.
- Kerf allowance: start with a small value from a test fit (see below); without it the joints will be loose.
Test the fit first
- Cut just one corner — two small strips with three or four fingers each.
- Push them together. If they fall apart, increase the kerf allowance slightly; if you need a mallet, reduce it.
- Repeat until they press together firmly by hand. Note the value for this material.
Cutting and engraving
- Run a material test grid on an offcut if you haven’t used this plywood before.
- Engrave the lid design first, then cut, so the panel doesn’t shift between operations.
- Use masking or the sheet’s protective film if smoke staining bothers you.
- Stay with the machine for the whole job.
Assembly
Press the four sides together around the base. A tight-fitting box holds without glue; for a permanent box, run a thin bead of wood glue along the inside of each joint and wipe away any excess. Leave the lid loose, or add a small inner lip panel cut 2 × material thickness smaller so the lid sits in place.
Take it further
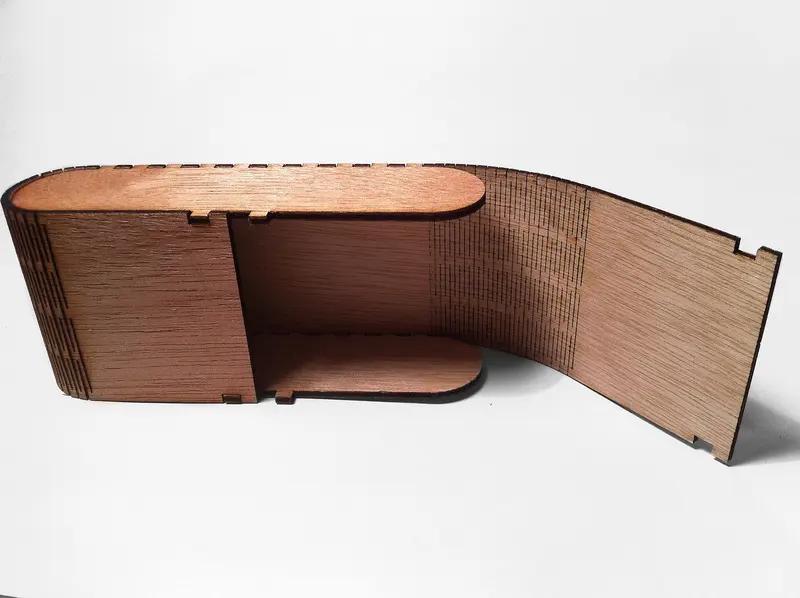
- Swap the plain lid for a living hinge curved side.
- Inlay a contrasting veneer into an engraved recess.
- Cut dividers with matching slots to turn it into a tea or jewellery box.