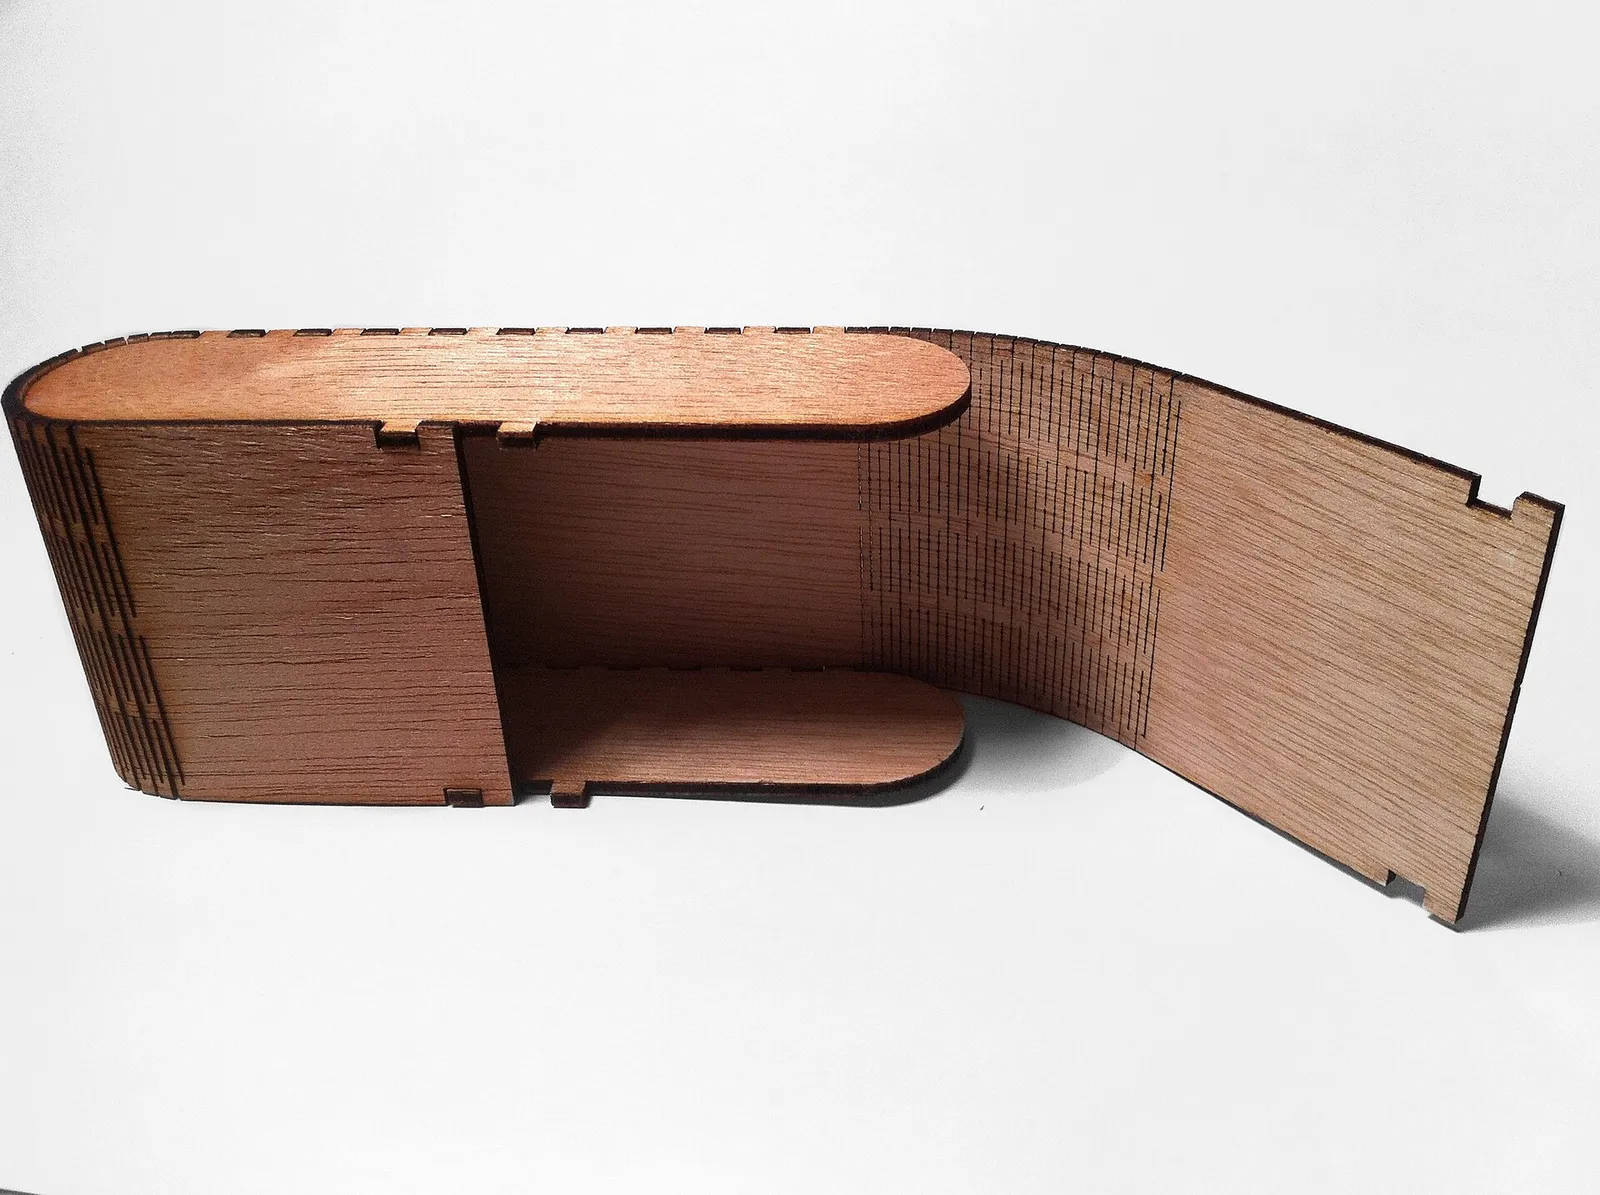
How a living hinge works
A living hinge is a band of short, staggered parallel cuts. Each cut leaves thin strips of material that twist slightly, so a stiff sheet can bend around a curve. Longer cuts and narrower gaps make the hinge more flexible — but weaker.
The design
A pot with a stadium-shaped (rounded-rectangle) footprint is the easiest start:
- A base and an identical top ring, each a rounded rectangle with matching slots along the straight edges.
- One long side panel with tabs along its top and bottom edges, and living-hinge patterns where it wraps around each rounded end.
Several free box generators can create rounded boxes with flex sections; you can also draw the hinge as rows of lines in any vector editor.
Making it
- Cut a small hinge test strip first and bend it around a mug. If it cracks, lengthen the cuts or widen the spacing between rows; if it is floppy, do the opposite.
- Cut the base, ring and side panel.
- Bend the side gently around the base, starting from the middle of a straight edge, and press the tabs into the slots.
- Glue the seam where the panel meets itself and hold it with masking tape until dry.
Finishing
Plywood hinges look best left natural or wiped with a thin oil. Avoid soaking them in water-based finishes, which can swell the thin strips.